

Follow Lilach
How to design beautiful emails that convert
Email marketing has been – and continues to be – one of the most effective ways to generate and nurture leads into becoming customers.
If you’re a business, then you need to leverage email marketing. Full stop.
It’s a must – it’s how you capture leads and keep them engaged and coming back to your website.
It’s how you nurture them into ultimately becoming your paying customers and that’s true whether you’re a small business just starting out or a huge enterprise.
But in order to get results from your email marketing campaigns, you not only need a great email strategy, but you also need to create beautiful and responsive emails. That’s because your audience is getting a lot of emails on a daily basis – and if your emails aren’t standing out and grabbing their attention, then you’re losing opportunities to nurture and convert.
In this blog post, discover how to design beautiful emails that convert so that you can generate better results from your email marketing strategy.
And in order to help you create beautiful emails, I want to introduce you to BEE – one of my favourite email design tools.
What is BEE?
BEE is a powerful and very easy-to-use email editor that offers multiple plans:
- BEE Free, which is a completely free email builder. Select one of the many free email templates, customize it, and download the HTML that you can use anywhere.
- BEE Pro (which is the one I tried out), the email builder version built for freelancers, teams and agencies small and large.
- And the BEE Plugin, which is an embeddable version of the editor. It’s for developers of SaaS applications that want to provide their users with a cool email design tool without having to develop one themselves.
BEE Pro – which is the one I used – is designed for freelance designers, marketing teams, and digital agencies who want to be able to create beautiful emails while also cutting down on time spent designing those emails and on the overall cost.
So while you would use BEE Free to build an email in a quick, design-and-go type of situation, BEE Pro is an upgraded version that also lets you save, tag, search, collaborate and export them to many popular marketing apps. In addition, some of the templates are locked in the Free version, but all become available when you sign up for Pro, which means that you get access to a huge library of beautiful email templates.
Read on to see how it works, what the templates look like and what kinds of emails you can create with BEE Pro.
[click_to_tweet tweet=”How to design beautiful emails that convert with @beefreeio #emailmarketing #marketingtips ” quote=”How to design beautiful emails that convert with @beefreeio #emailmarketing #marketingtips “]
Getting started with BEE Pro: creating emails and projects
If you’ve ever tried the free version of BEE, you’ll already feel very comfortable with BEE Pro; as I mentioned earlier, it’s basically an upgraded version of BEE Free, with a lot more useful features and templates that businesses and agencies will surely appreciate.
And even if you haven’t tried the Free version at all, you’ll still find it very easy to use and get the hang of. There’s a free trial version that lasts 15 days and requires no credit card.
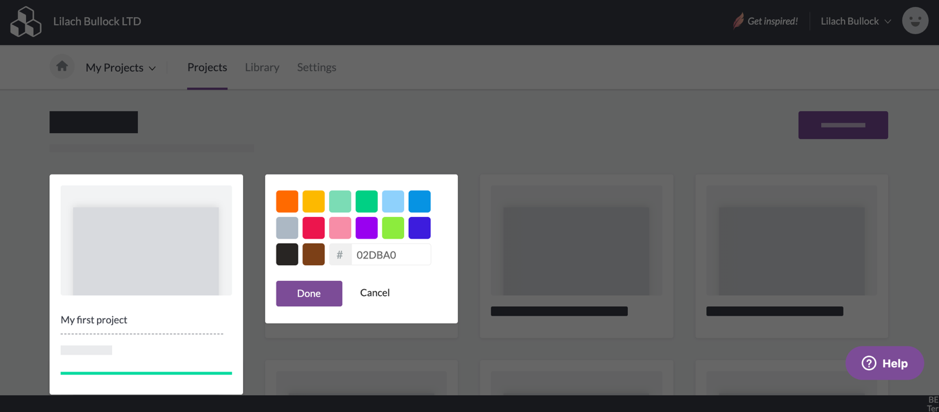
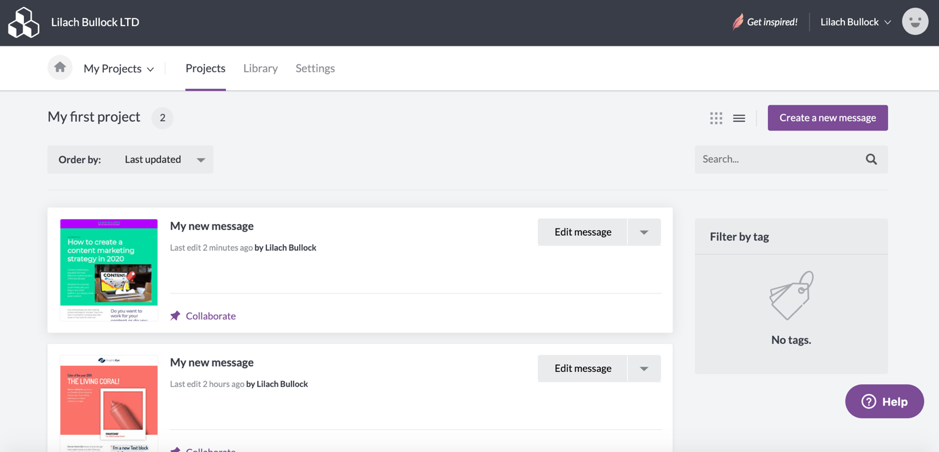
The first step in getting started with BEE is to create a project; these are essentially the folders where you’ll organize all of your messages (aka, your emails): for example, you may have “Newsletters”, “Promotions”, “Welcome Series”, etc.
Once you’ve created your first project, you can jump right into creating and designing an email; just click on “create new message” within the project to get started. BEE Pro will take you to the template selection step, which is similar to the email templates catalogue available for the free version. But, as mentioned earlier, all the templates are unlocked here.

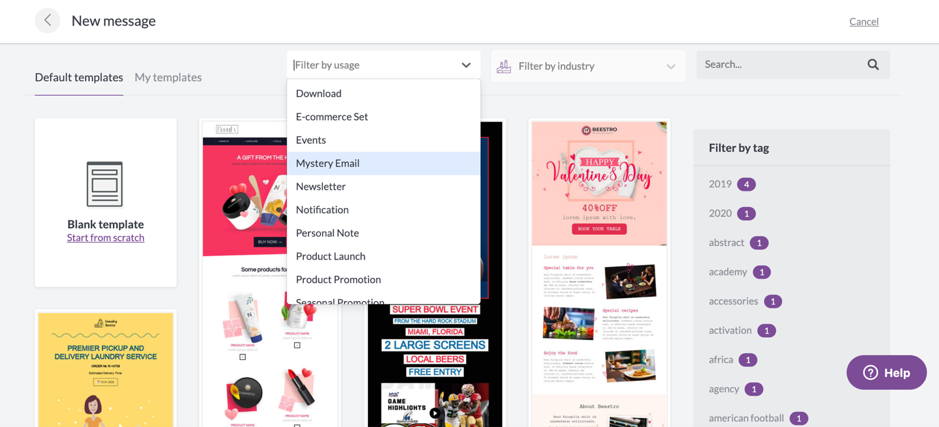
As you can see above, they regularly update and add new templates based on upcoming events and holidays (like the Super Bowl or Valentine’s day).
But because there are so many different templates to choose from, you can use the filtering options to find the right template for your needs (or of course, you can start from scratch!).
You can do simple text searches using the search field on the right, or you can filter by usage – i.e. what the email is for:
… or by industry:
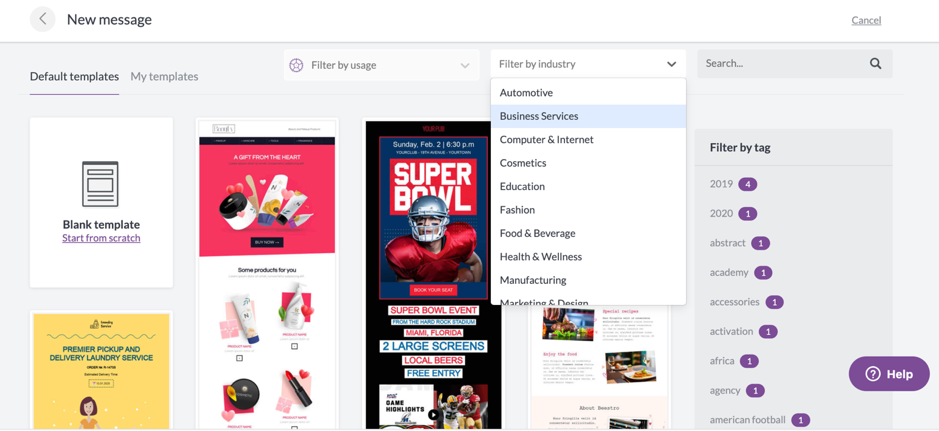
Plus, you can use all of these filters together, at the same time, to help you find the right template.
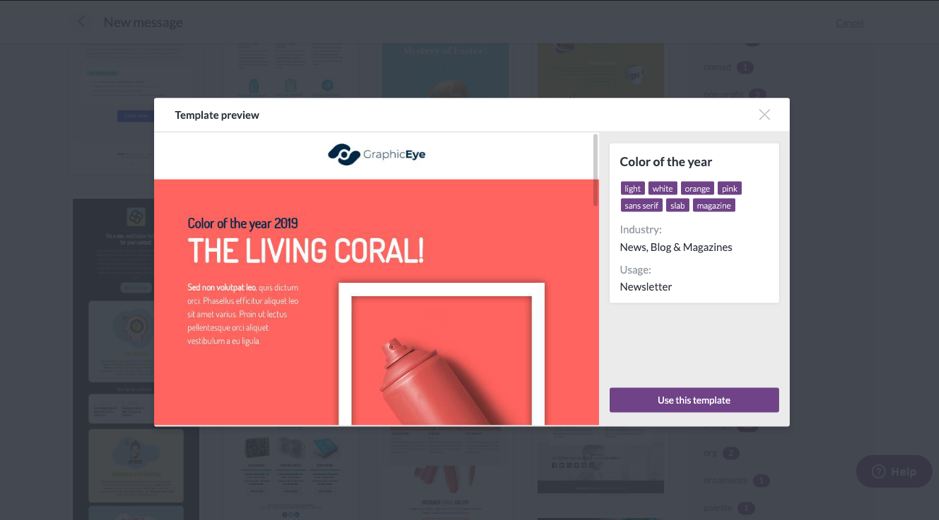
Once you find a template that would work for your email, you can preview it first before choosing to work on it, so you can get a better idea of what it really looks like:
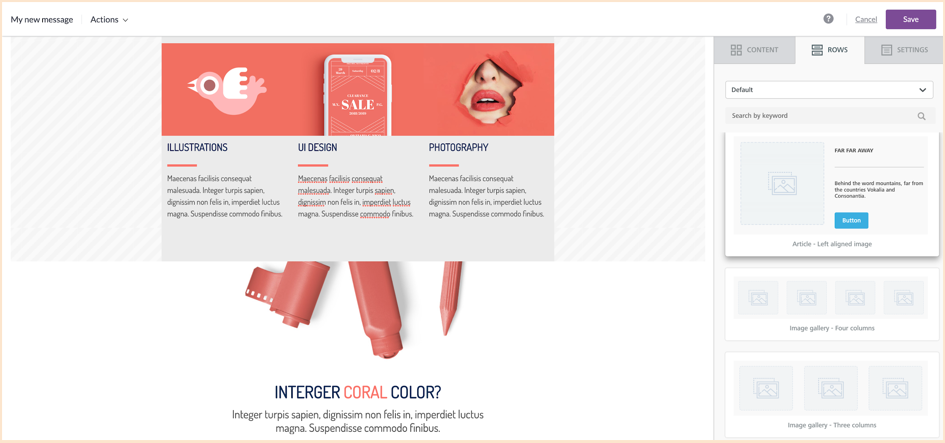
And once you’ve chosen a template, you’ll be taken right into the email editor/builder where you can customize your message:
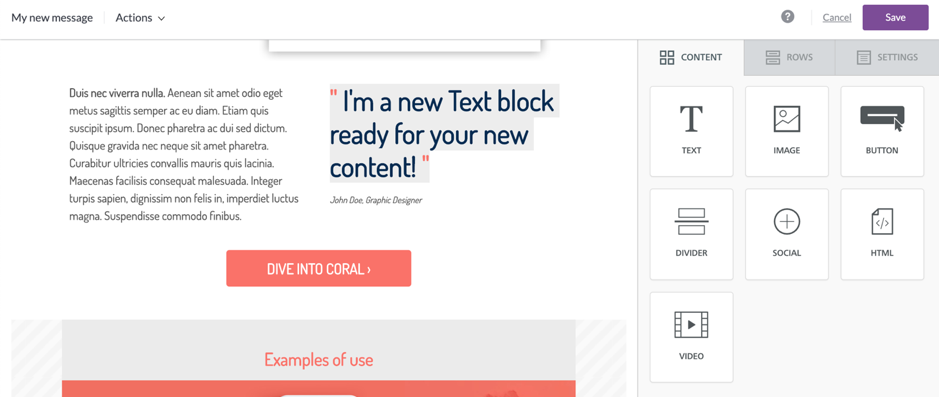
As you can see in the screenshot above, all of the editing options are placed on the menu on the right-hand side of the builder.
There are 3 main sections here:
- Content, where you can find and add individual content blocks, such as text, images and videos, HTML codes, dividers, call to action buttons and your social media
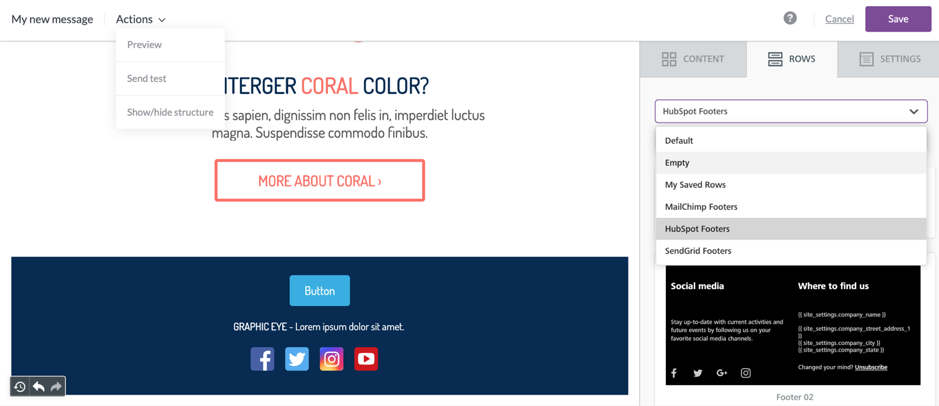
- Rows, where you can find numerous row options to add to your email, including pre-built Hubspot, Sendgrid and MailChimp footers! Also, a really cool thing here is that the builder allows you to save a row (e.g. a footer with your address, unsubscribe link, etc.) and use it again: you’ll find it under “My Saved Rows”. This can save you a ton of time by reusing all kinds of content: footers, headers, social media icons, etc.
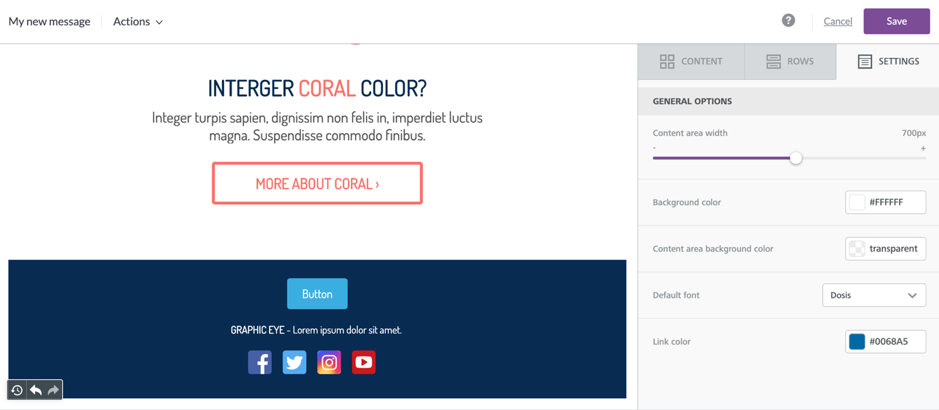
- And finally, Settings, where you can play around with colours, backgrounds and fonts so that you can ensure your branding is consistent throughout your marketing materials:
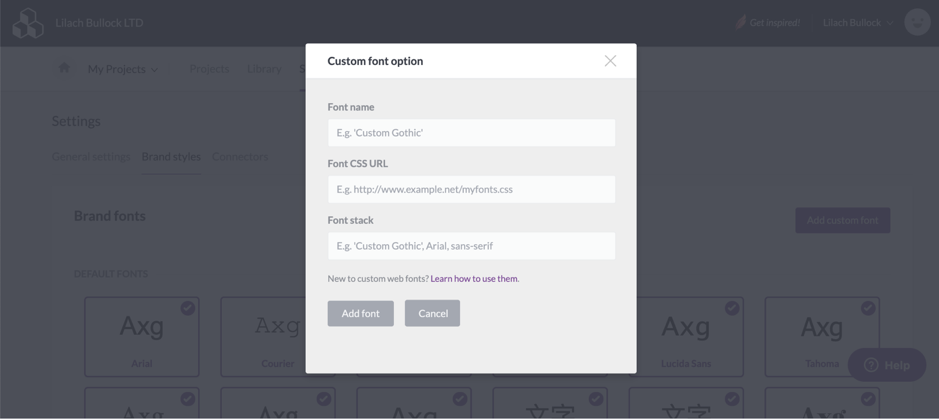
As a side note, if you can’t find your brand font in their library, you can add your own custom font in the Settings section of your BEE Pro account:
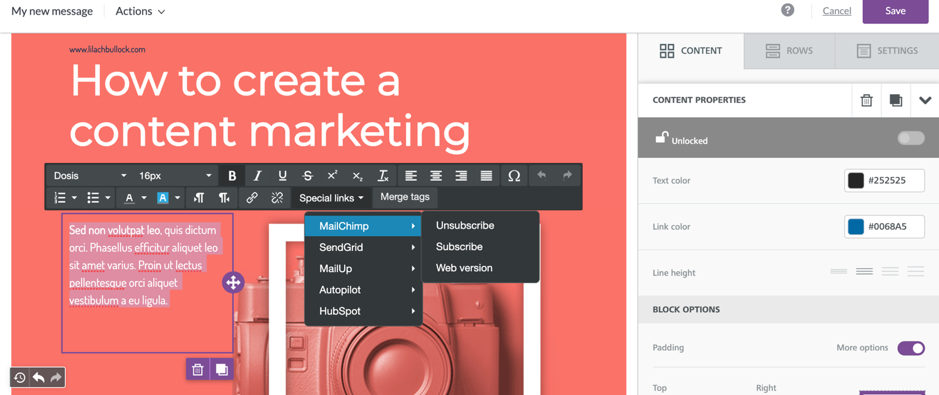
To start customizing a template all you have to do is click on the element you want to change and you’ll see all of your different options:
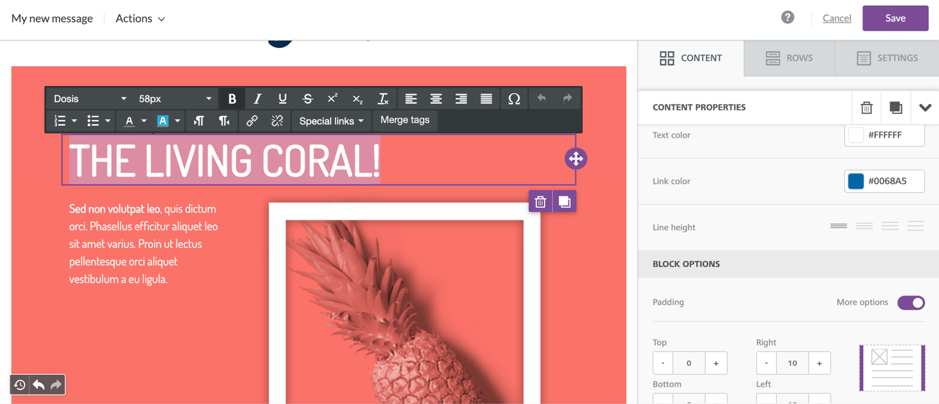
You can easily change any text by selecting it and writing your own message – and customize the font and size, as well as add links, change the text and background colours and much more.
Plus, you can easily add so-called “special links”, such as Hubspot “unsubscribe” and “web version”:
Next up, I want to change the image in this template to better suit the content of my email. This takes me to the file manager – a place where you can not only add all of your visuals for easy access, but you can also search for free images to use in your emails:
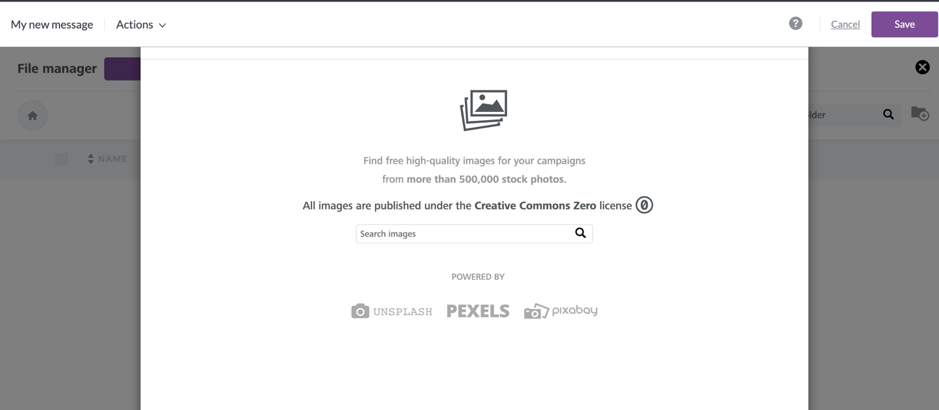
All of these images are published under the Creative Commons Zero license, which means that you are free to use them as you want; plus, they’re pulled from some of the best free image sources on the web – Unsplash, Pexels and Pixabay.
Another quick option is to import your images at once; BEE connects with Facebook, Instagram, Dropbox, Flickr and numerous other platforms so that you can import your visuals as quickly as possible. Plus, you can even search and import web images directly in BEE:

Or, of course, you can always upload visuals directly from your computer, dragging and dropping images directly into the editor.
[click_to_tweet tweet=”How to design beautiful emails that convert with @beefreeio #emailmarketing #marketingtips ” quote=”How to design beautiful emails that convert with @beefreeio #emailmarketing #marketingtips “]
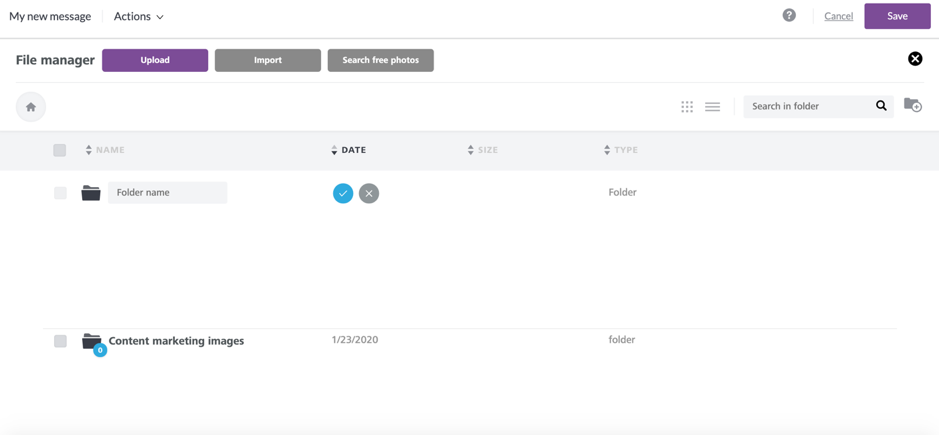
If you’re working with a lot of images, you can create folders in the media library, so they’re easier to find later. You can also switch between list and thumbnail view.
But, let’s go back to the email builder.
To keep customizing your template, content blocks or rows, you simply need to select the element in question and check out your options in the right-hand side menu; and if you want to move elements around, you can use the drag-and-drop feature to easily move them where you want them.
Apart from that, there are a lot of other customization options you can go for, including changing colours, backgrounds, alignment, padding and much, much more:

And if the template you chose doesn’t completely fit your needs, all you have to do is add a new row from the Rows section:
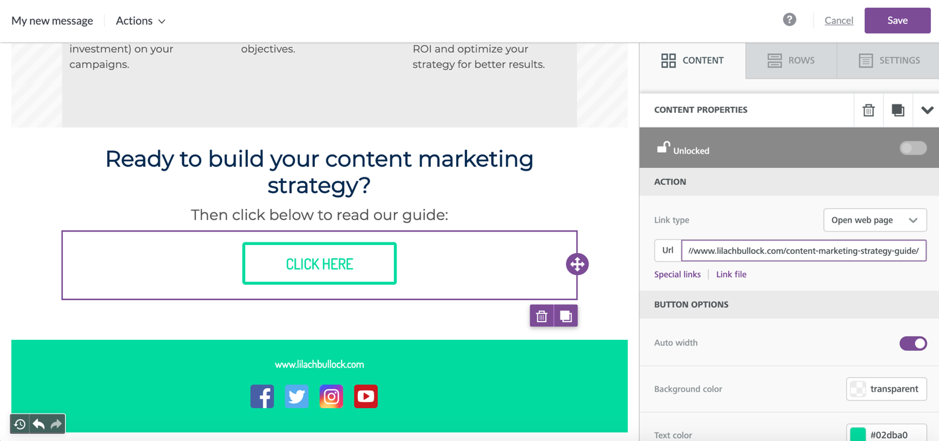
As for interactive elements – such as call to action buttons and social media buttons – you can easily add links by selecting the element you want and adding the URL in the space provided:
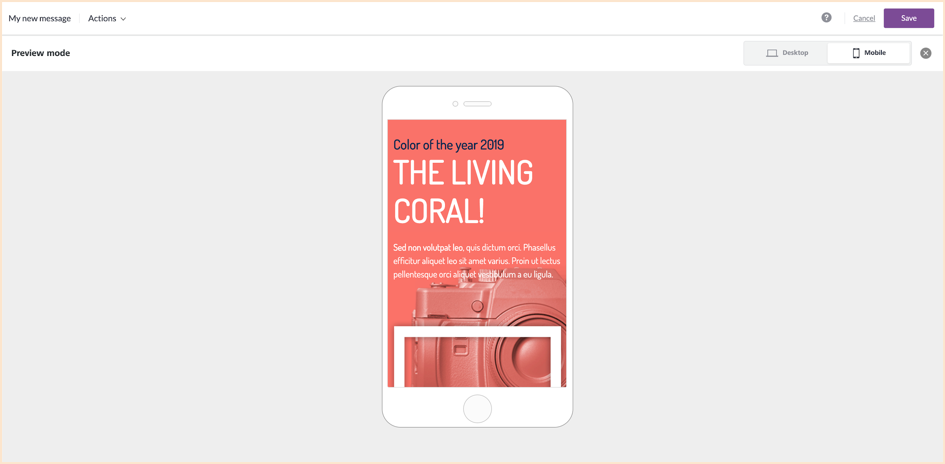
Once you’re finished with your design, you can preview your work on both desktop and on mobile devices so that you can see what your subscribers will see:
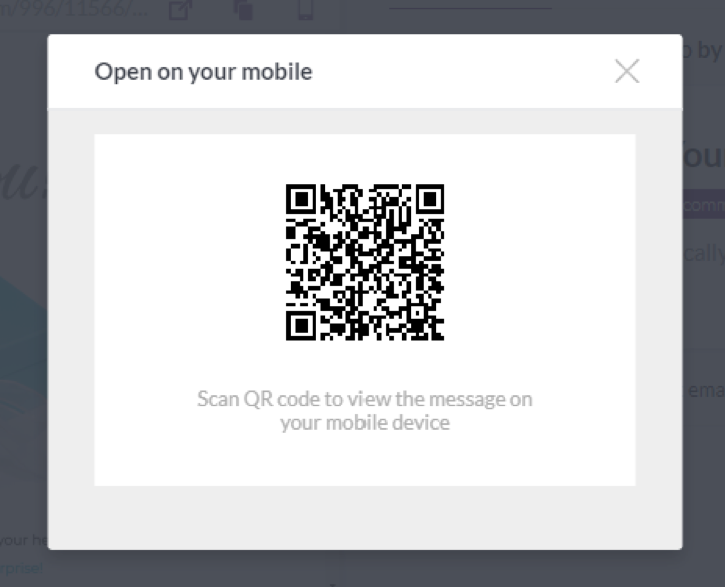
Plus, you can also send a test email to your own address so that you preview it even better, in your own email client. Or – even faster – you can click on the “Open on mobile” feature, which shows a QR code: point a QR code reading app on your phone to it, and you can instantly see the email displayed there.
And once you’re finished with your design, you also have the option to save it as a template so that you can reuse it later.
My recommendation? Create a few templates for yourself and reuse them as needed – this way, you’ll save considerable time designing your email messages, while also ensuring that your branding is on point.
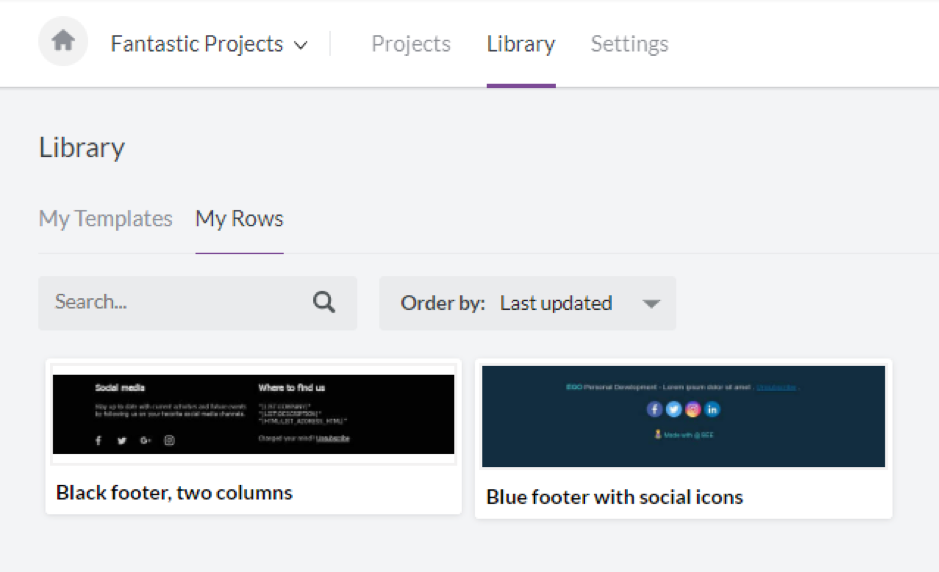
And you can even save your favourite rows too so that you can find them quickly when you’re creating a new email message. For example, you could have a few different versions of your footer for different scenarios:
With the Pro account, you also get another useful feature – collaborative tools:
This is super useful if you’re part of a team or if you’re an agency as it allows you to collaborate with your team, your employees or your clients, directly. You can easily provide feedback to whoever is creating the email, write up notes, make suggestions and add any comments or direction you might have before sharing it with the appropriate parties.
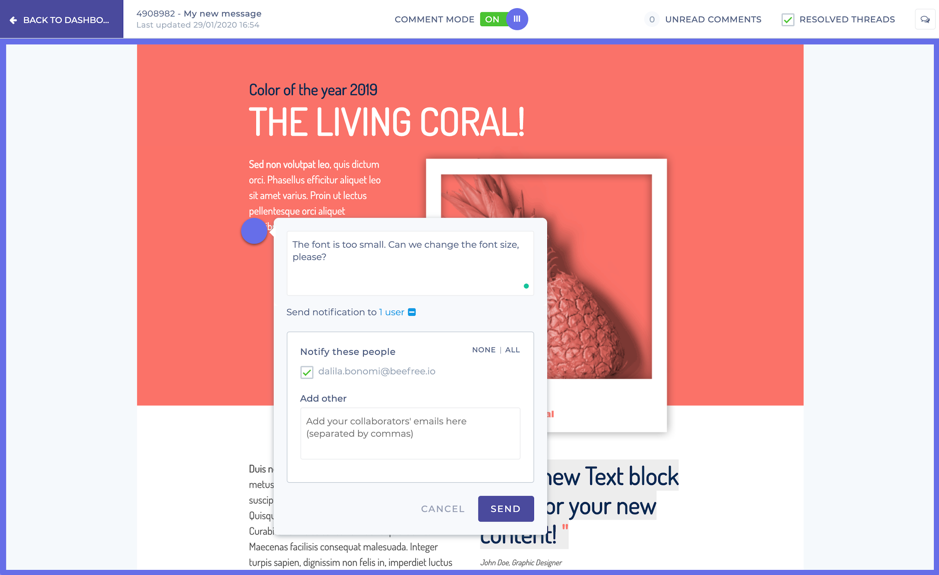
You can choose who gets your comments and notifications, easily “resolve” threads of comments and turn the visibility of resolved threads on and off, all in order to make it easier to collaborate and finish your projects in a timely manner.
This is a big feature because it helps save up a lot of time: instead of having to send screenshots of your work and use multiple platforms to ask for feedback, you can do it all in one place. For example, a freelancer could much more easily communicate with their clients, get their feedback in a visual, organized fashion, and finish the project much faster.
[click_to_tweet tweet=”How to design beautiful emails that convert with @beefreeio #emailmarketing #marketingtips ” quote=”How to design beautiful emails that convert with @beefreeio #emailmarketing #marketingtips “]
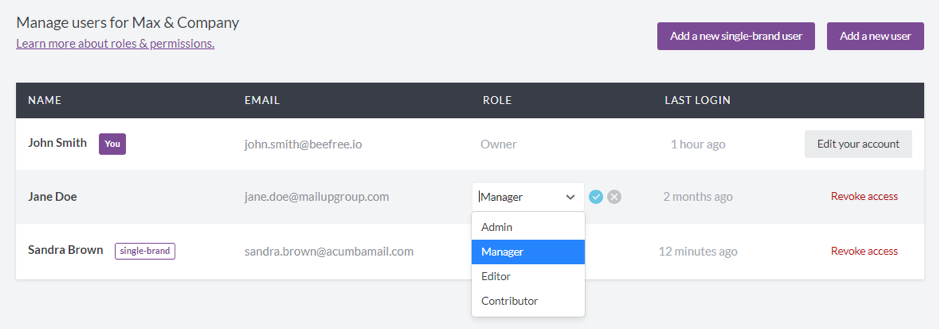
When you share an email using the collaboration tool, those viewers are not considered extra users, so there is no extra fee. On the other side, if you want colleagues to work with you on the emails, or you want clients to come in and do some of the design work themselves, you can add new users to your BEE Pro account. When you do so, you have full control over their user roles and permissions; each person you add will have their own set of permissions and access to the various different features.
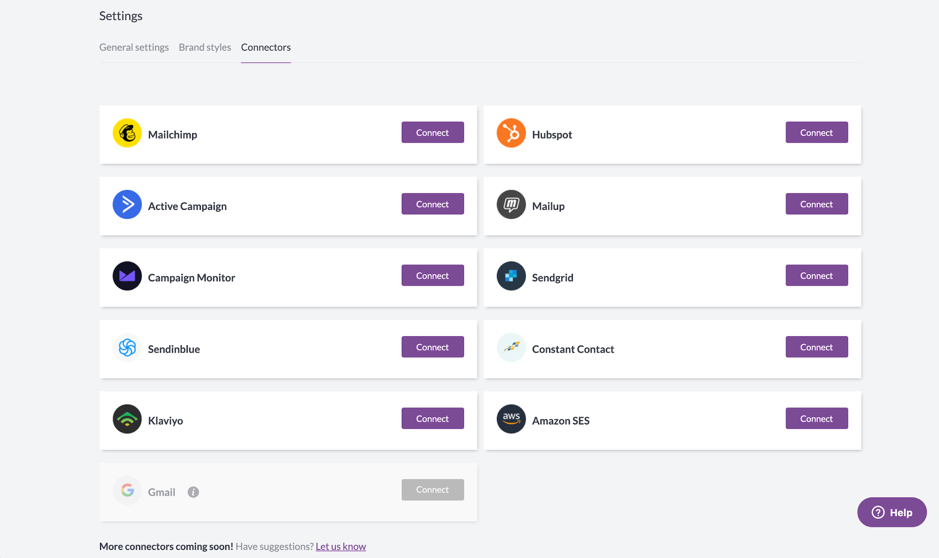
As for sending your emails, you can connect your BEE Pro account to the email service and marketing automation providers you’re using and simply go from there. For example, you can export to Hubspot, MailChimp, Campaign Monitor, Active Campaign, and others. There is a full list of integrated email marketing tools here.
Conclusion
As I mentioned in the introduction, stepping up your email design is very important. People are bombarded by emails every day (some studies say that the average office worker can get as many as 121 emails every single day!) so in order to stand out, you need more than just great content – you need a beautiful design that compels people to take action and grabs their attention.
And creating a beautiful email – one that looks like a proper designer made it! – is easier than you’d ever expect, if you have the right tool to help you.
And BEE is definitely that tool: it’s easy to use, it has a plethora of beautiful templates for all kinds of needs and plus, it can even be completely free if you don’t need all the features.
Follow Lilach